The kit I've bought comes with three ready made staircases, which I think were mdf in origin rather than some of the wooden ones you see in older houses which is the look I decided I was going for. My first task therefore, was to make them look as realistic as possible, and with this in mind I set about cutting some small strips of thin 1.5mm obeche wood for the back panels of the stairs.

These I then stained, feeling somewhat cocky because I'd already learned to use the stain prior to gluing in order to get an even colour coverage. From there I attempted to glue the cut panels to the mdf stairblock, and it was from here that things started to go pear shaped!

You can perhaps see the mistake I made already by looking at the way in which the grain runs vertically. I'd cut the obeche wood panel against the natural grain which runs horizontally. This meant that by the time the stain and the glue had been applied, the saturated panels started to curl at the edges and wouldn't lie flat, but instead pinged off of the mdf every time I attempted to fix them into place. And that was despite trying to clamp them into position. Lesson well and truly learned!
As you can probably see in the photo above I had already managed to make one staircase successfully, but I'm almost certain that was due to good luck rather than any proficiency on my part!
So it was a case of swallowing my pride and starting all over again, remembering this time to cut with the grain rather than against it. And hey presto, it worked...the panels didn't curl and remained glued into place.
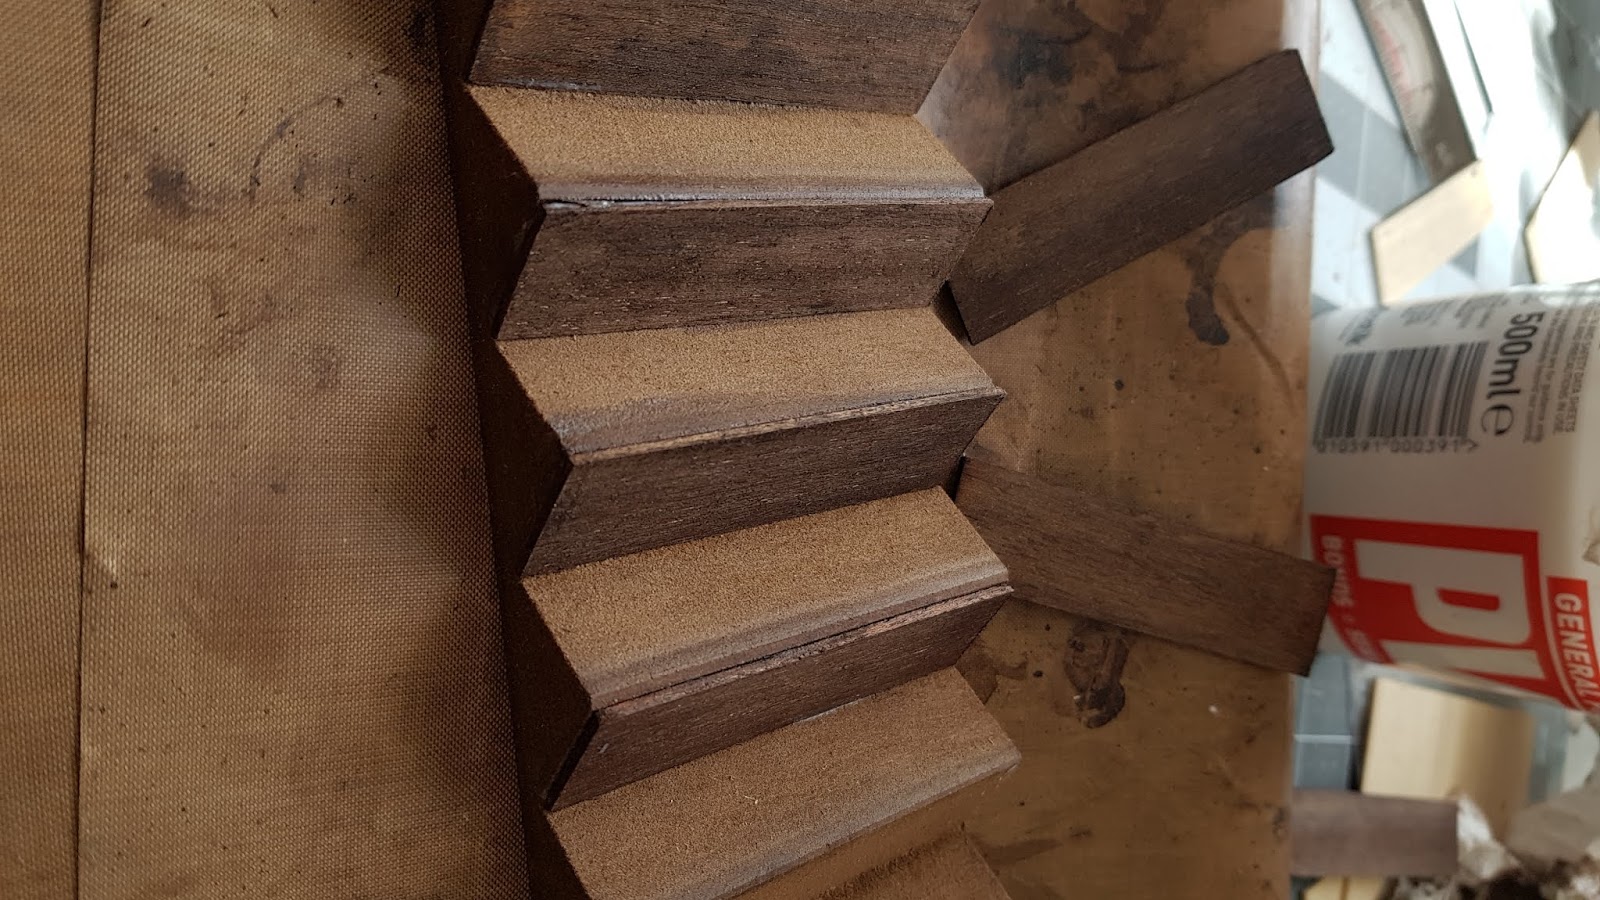
And so onto the last photo.....which sadly is yet another dingy brown shot, but shows how the stairs currently look at the time of writing. As mentioned previously the kit I'm working on is Tudor themed, and although I don't have an exact era in mind when it comes to internal decoration, I figured that I wanted the stairs to look old and worn down over the years. Because of this I opted to use slightly thicker obeche wood for the actual steps, which meant that I could sand down the middle of the steps to hopefully resemble the effect of continued footfall on them.

I think eventually I'm going to panel the stairs into at least one wall sideways on as you open the front of the house up, and may eventually make my own balastrade rather than using the spindles supplied with the kit, so for now I'm leaving them be and will move onto something else, hopefully less brown!
2 comments:
Great job, well done you. Too late for this build but I know someone who makes terrific stair treads with rounded off front edges. He might be useful for posts and newels etc not sure https://www.dollshousemouldings.com/staircase-parts-20-c.asp
Thank you so much for the link. I'll go take a look now!
Post a Comment